Dirt Cake Recipe: A Delicious Dessert That’s Easier to Make Than You Think

Dirt cake has become one of the most sought-after desserts for parties, celebrations, and special occasions—and for good reason. This whimsical yet delicious dirt cake recipe combines the irresistible appeal of chocolate with playful presentation that captivates both children and adults. If you’ve been intimidated by this seemingly complex dessert, we have great news: creating the perfect dirt cake at home is surprisingly simple, requiring only basic baking skills and readily available ingredients.
This comprehensive guide reveals the secrets to making restaurant-quality dirt cake that will astound your guests and elevate any occasion. Whether you’re preparing this for a themed birthday party, Halloween celebration, or simply want to impress family with something extraordinary, this detailed recipe provides everything you need to succeed. From ingredient selection through final decoration, you’ll discover professional techniques that make this dessert accessible to bakers of all skill levels.
Why Dirt Cake Deserves Space on Your Dessert Menu
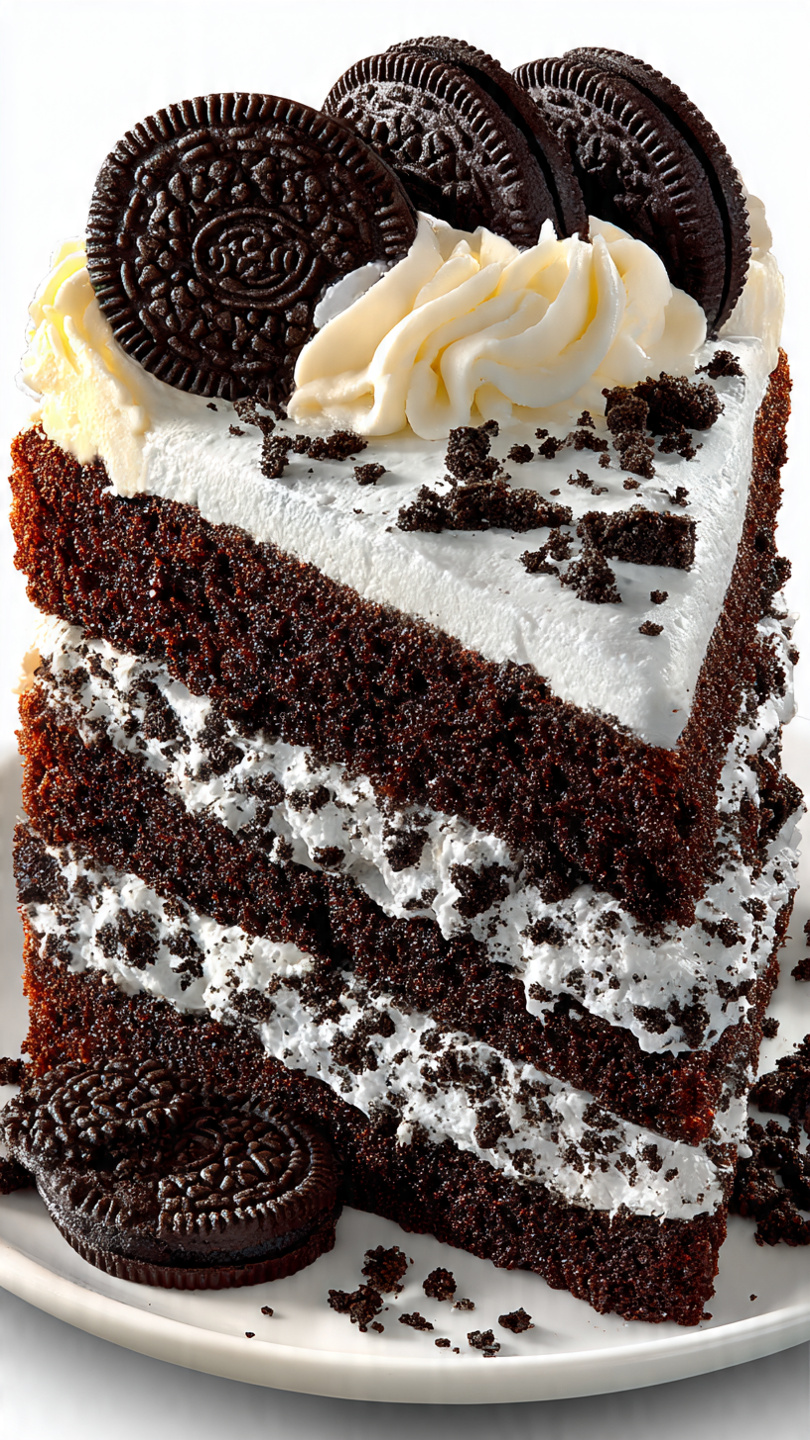
The popularity of dirt cake isn’t solely about its appearance—although the realistic, eye-catching presentation certainly contributes. This dessert delivers genuine deliciousness alongside entertainment value. The combination of moist chocolate cake, creamy pudding filling, and crunchy cookie topping creates multiple layers of texture and flavor that work harmoniously together.
Beyond taste, dirt cake offers remarkable versatility. You can customize it for different themes: add gummy worms for garden or construction parties, incorporate fondant insects for nature-themed events, or keep it simple for elegant adult gatherings. The make-ahead nature makes it perfect for busy entertainers—the cake actually improves when prepared the day before as flavors meld beautifully.
Perhaps most importantly, the visual impact far exceeds the actual preparation difficulty. Guests consistently express amazement upon learning how straightforward the assembly process truly is. This perfect balance between impressive presentation and achievable execution makes dirt cake an ideal confidence-building baking project.
Understanding the Essential Components
The Cake Foundation: Chocolate cake forms the dessert’s structural base. You can use homemade cake from scratch or convenience cake mixes—both produce excellent results. The key is ensuring moisture without creating a soggy mess. A properly baked chocolate cake provides the necessary foundation to support multiple layers of filling and toppings.
The Creamy Filling: Chocolate pudding or mousse creates the signature creamy middle layer essential to dirt cake’s appeal. Instant chocolate pudding mixed with cold milk offers convenience and consistent results. The pudding must be thick enough to support decorative elements without sliding or collapsing, yet smooth enough to spread easily.
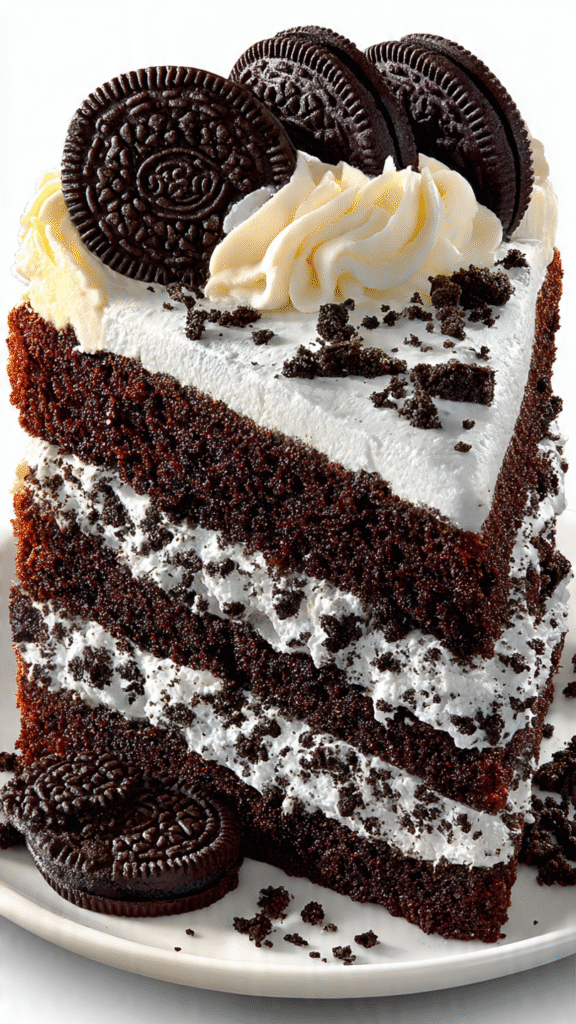
The “Dirt” Topping: Crushed Oreo cookies create the signature realistic soil appearance. The combination of dark chocolate cookie pieces with white frosting creates visual depth and texture resembling actual soil. This simple component transforms an ordinary layer cake into a conversation starter.
The Frosting Layer: Buttercream or whipped cream frosting between cake layers provides structure, moisture, and additional flavor. Buttercream offers superior stability, while whipped cream provides lightness. The choice depends on your preference and the occasion formality.
Optional Decorative Elements: Gummy worms, candy insects, fondant details, and fresh berries personalize your dirt cake, transforming it from simple to spectacular. These garnishes allow creative expression while maintaining the whimsical aesthetic.
Complete Dirt Cake Recipe
Ingredients
For the Cake:
- 1 box chocolate cake mix (plus required ingredients: eggs, oil, water)
- Cooking spray for cake pans
For the Filling:
- 2 cups heavy whipping cream
- 3 tablespoons powdered sugar
- 1 teaspoon vanilla extract
- 2 packages (3.9 oz each) instant chocolate pudding mix
- 3 cups cold milk
- 1 cup powdered sugar (additional)
- ½ cup unsalted butter, softened
For the Dirt Topping:
- 20 Oreo cookies (approximately 2 cups crushed)
- Optional: 1 cup crushed vanilla wafers for additional texture
For Decoration:
- 1-2 packages gummy worms
- Candy insects or fondant details
- Fresh berries or chocolate shavings
- Edible glitter (optional)
Step-by-Step Instructions
Preparation Phase (40 minutes)
- Prepare Cake: Follow your chocolate cake mix instructions for two 9-inch round layers. Divide batter evenly between two greased, floured cake pans. Bake according to package directions (typically 28-32 minutes) until a toothpick inserted in the center emerges clean with minimal crumbs.
- Cool Thoroughly: Allow baked cakes to cool in pans for 10 minutes, then turn out onto cooling racks. Complete cooling takes approximately 1 hour—this is crucial for proper assembly. Rush cooling, and your frosting will melt when applied.
- Level Cake Tops: Once completely cooled, use a serrated knife to level the tops of both cake layers, creating flat surfaces that stack evenly. This professional touch ensures your layers align perfectly.
Filling Preparation Phase (15 minutes)
- Whip the Cream: Beat heavy whipping cream with powdered sugar and vanilla extract in a chilled bowl until stiff peaks form. Reserve 1 cup for frosting; refrigerate remaining whipped cream.
- Prepare Pudding: Whisk instant chocolate pudding mix with cold milk according to package directions. Let thicken for 2 minutes. Fold in half of the reserved whipped cream to lighten the mixture, creating a mousse-like consistency.
- Make Buttercream: Beat softened butter with powdered sugar (adding 1 tablespoon at a time) until light and fluffy, approximately 3 minutes. Add milk if the frosting becomes too thick. This frosting acts as an adhesive layer holding your cake structure together.
Cookie Preparation Phase (10 minutes)
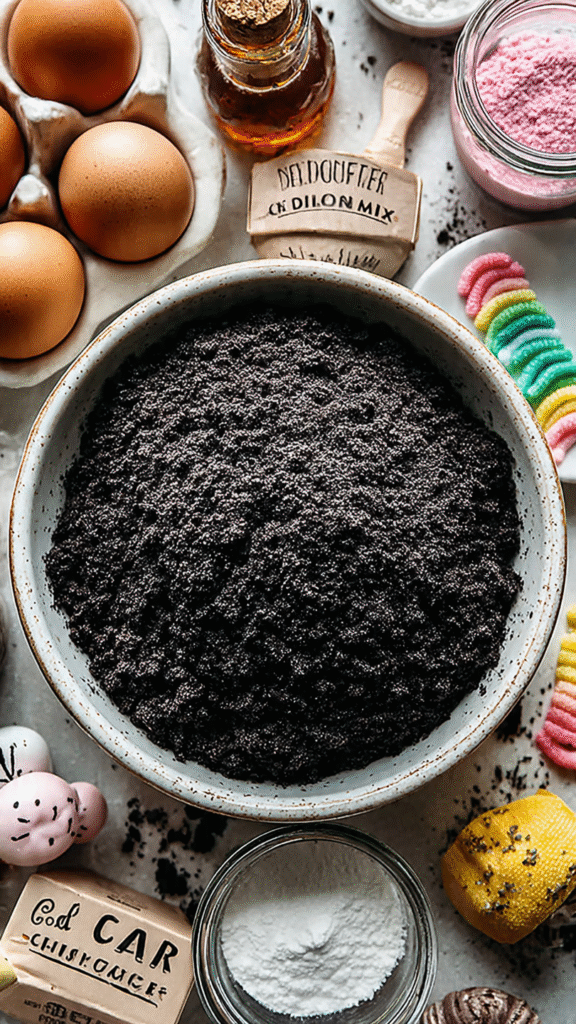
- Create the Dirt: Separate Oreo cookies, discarding (or saving for snacking) the cream filling. Place cookie pieces in a food processor and pulse until achieving a coarse crumb texture resembling actual dirt—not powdered, but with varying particle sizes. Spread on paper towels to dry slightly.
Assembly Phase (20 minutes)
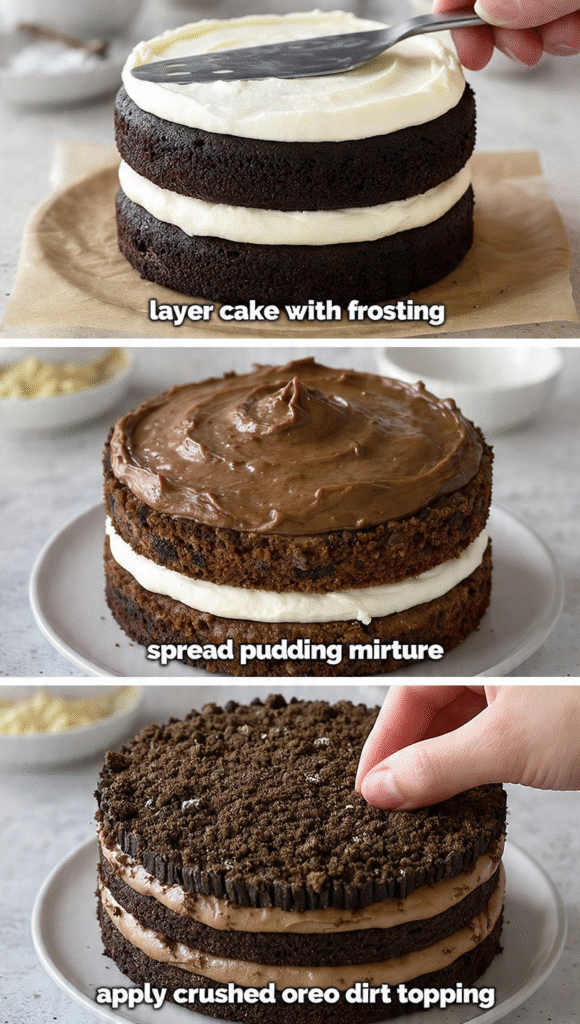
- First Layer: Place the first cake layer on your serving plate. Spread a thin layer of buttercream across the top, creating an adhesive base.
- Add Pudding: Spread approximately 1 cup pudding mixture over the buttercream, leaving approximately ½-inch border from the edge to prevent filling from squishing out during stacking.
- Second Layer: Carefully place the second cake layer on top, pressing gently to secure without squishing excessive filling from the sides.
- Crumb Coat: Spread a thin layer of buttercream around the sides and across the top of the assembled cake. This initial coating seals in crumbs. Refrigerate for 15 minutes to allow this layer to set.
- Final Frosting: Apply a second, thicker layer of buttercream around the sides and top, creating a smooth finishing surface. Work quickly but carefully—rushing leads to visible crumbs.
- Pudding Topping: Spread remaining pudding mixture across the top and sides of the frosted cake, creating a uniform creamy layer. This pudding layer provides the foundation for your dirt topping.
- Dirt Application: Generously sprinkle crushed Oreo dirt across the entire cake surface, pressing gently to adhere. Cover completely, creating that realistic soil appearance from every angle.
Decoration and Finishing Phase (15 minutes)
- Add Decorations: Position gummy worms on the dirt surface, partially burrowing them into the cookie crumbs for authentic appearance. Arrange candy insects and fondant details as desired. These elements transform your cake into a garden or landscape scene.
- Chill Completely: Refrigerate the assembled dirt cake for minimum 2 hours (ideally overnight) allowing all components to set and flavors to meld beautifully. This resting period is essential for stability and taste development.
Expert Tips for Success
Preventing Cake Collapse: The most common issue stems from insufficient chilling between assembly stages. Don’t rush the process. Each layer needs proper setting time before adding the next component.
Achieving Realistic Dirt: Vary your Oreo pieces—don’t pulverize them into powder. The combination of larger chunks and fine crumbs creates authentic soil texture with visual depth.
Transporting Your Masterpiece: If moving the cake, place it on a sturdy cake carrier or baking sheet. Keep it refrigerated during transport, removing only when you’re ready to serve and photograph. Room temperature exposure softens frosting and risks shifting layers.
Storage Solutions: Properly stored dirt cake keeps refrigerated for up to 3 days. Individual components freeze beautifully—freeze cake layers and prepared fillings separately for up to one month, then assemble fresh when needed.
Creative Variations Worth Exploring
- Mint Chocolate Version: Combine chocolate cake with mint pudding for refreshing variation
- Triple Chocolate Experience: Use chocolate cake, chocolate pudding, and chocolate buttercream creating monochromatic luxury
- S’mores Themed: Add graham cracker crumbs to your “dirt,” incorporate marshmallow fluff frosting
- No-Bake Option: Use store-bought brownies or pound cake, eliminating the baking step entirely
Serving Recommendations
Present your dirt cake on an elevated cake stand for maximum visual impact. Individual slices reveal the impressive multi-layered construction, showcasing your baking prowess. Serve chilled with whipped cream, fresh berries, or ice cream as accompaniments. The contrast between cold dessert and room-temperature sauce enhances flavor perception.
Conclusion
This dirt cake recipe proves that impressive desserts don’t require advanced techniques or complicated procedures. With straightforward ingredients, clear instructions, and patience for proper chilling, anyone can create this show-stopping dessert. The playful presentation combined with genuine deliciousness creates memorable dining experiences that guests will request repeatedly.
Begin with this recipe exactly as written, master the basic technique, then customize with personal touches and creative decorations. Whether you’re celebrating a special occasion or simply creating something fun, dirt cake delivers impressive results every single time. Your guests won’t believe how easy this seemed once they take their first bite of this delicious, whimsical dessert.