The Ultimate Guide to Baking a Show-Stopping Gingerbread Village Cake

The holiday season calls for baking that transcends the ordinary. While a simple gingerbread cookie is a classic, imagine taking that warm, spicy flavor and transforming it into an edible landscape—a magnificent Gingerbread Village Cake.
This isn’t just a dessert; it’s the centerpiece of your holiday table, a stunning fusion of rich, sturdy gingerbread cake layers and whimsical, sugary architecture. Whether you’re a seasoned baker or looking for a challenging and rewarding project, this comprehensive guide will walk you through crafting your very own breathtaking edible gingerbread village.
Section 1: The Foundation – Perfecting Your Sturdy Gingerbread Cake
A successful village cake requires a cake that can support weight without collapsing or crumbling. Standard layer cake recipes often won’t suffice. We need a sturdy, flavorful gingerbread cake that holds its shape.
1.1 The Best Gingerbread Cake Recipe for Structure
This recipe emphasizes molasses and brown sugar for moisture and flavor, while slightly reducing the leavening agents for a denser crumb.
| Ingredient | Quantity | Notes |
| All-Purpose Flour | 3 cups | |
| Baking Soda | 1 tsp | |
| Ground Ginger | 2 tsp | Use high-quality ginger for best flavor |
| Cinnamon & Cloves | 1 tsp each | |
| Unsalted Butter (softened) | 1 cup (2 sticks) | |
| Dark Brown Sugar (packed) | 1 cup | |
| Molasses | 1 cup | Essential for color and flavor |
| Large Eggs | 3 | Room temperature |
| Boiling Water | 1 cup | Activates the baking soda |
Baking Tips for Structural Integrity:
- Use Deep Pans: Bake your cake in 6-inch or 8-inch round pans, but bake them slightly deeper (using cake strips helps maintain flat tops).
- Cool Completely: Do not attempt to trim or frost warm cake. Allow layers to cool fully on a rack, then chill them in the refrigerator for at least 2 hours before carving.
Section 2: The Icing That Builds Empires – Mastering Royal Icing
For any edible gingerbread village, the adhesive is arguably more important than the flavor—it must dry rock hard. Forget buttercream; Royal Icing is your structural cement.
2.1 Royal Icing Recipe for Construction
This recipe is specifically for piping and gluing. For a smoother finish (the “snow drift” look), you’ll need to adjust the consistency later (see Section 3).
- Ingredients: 4 large egg whites (or 1/2 cup meringue powder mixed with 6 tbsp water), 4 cups powdered sugar (sifted), 1 tsp vanilla extract.
- Method: Beat the egg whites until frothy. Gradually add the sifted sugar, beating on medium-high speed until stiff, glossy peaks form.
Pro Tip on Consistency: For building the walls and roofs of your village structures (if you decide to incorporate baked gingerbread house pieces), the icing needs to be very stiff—it should hold its shape immediately when piped.
Section 3: Assembling Your Gingerbread Village Cake
This is where your culinary architecture comes to life. Assembly requires patience and a steady hand.
3.1 Layering and Carving the Terrain
- Level and Torte: Trim the cooled gingerbread layers to be perfectly flat.
- The Filling: Use a slightly softer filling here—perhaps a cream cheese frosting or a rich chocolate ganache—to cushion the dense cake layers. Stack and chill thoroughly.
- Carving the Landscape: Once chilled, use a serrated knife to carefully carve slopes, hills, and valleys into the top and sides of your stacked cake. This mimics natural terrain.
3.2 Crumb Coat and Final Frosting
- Crumb Coat: Apply a thin layer of your chosen “snow” frosting (a simple buttercream works well here, or a soft royal icing consistency) to seal in crumbs. Chill for 30 minutes.
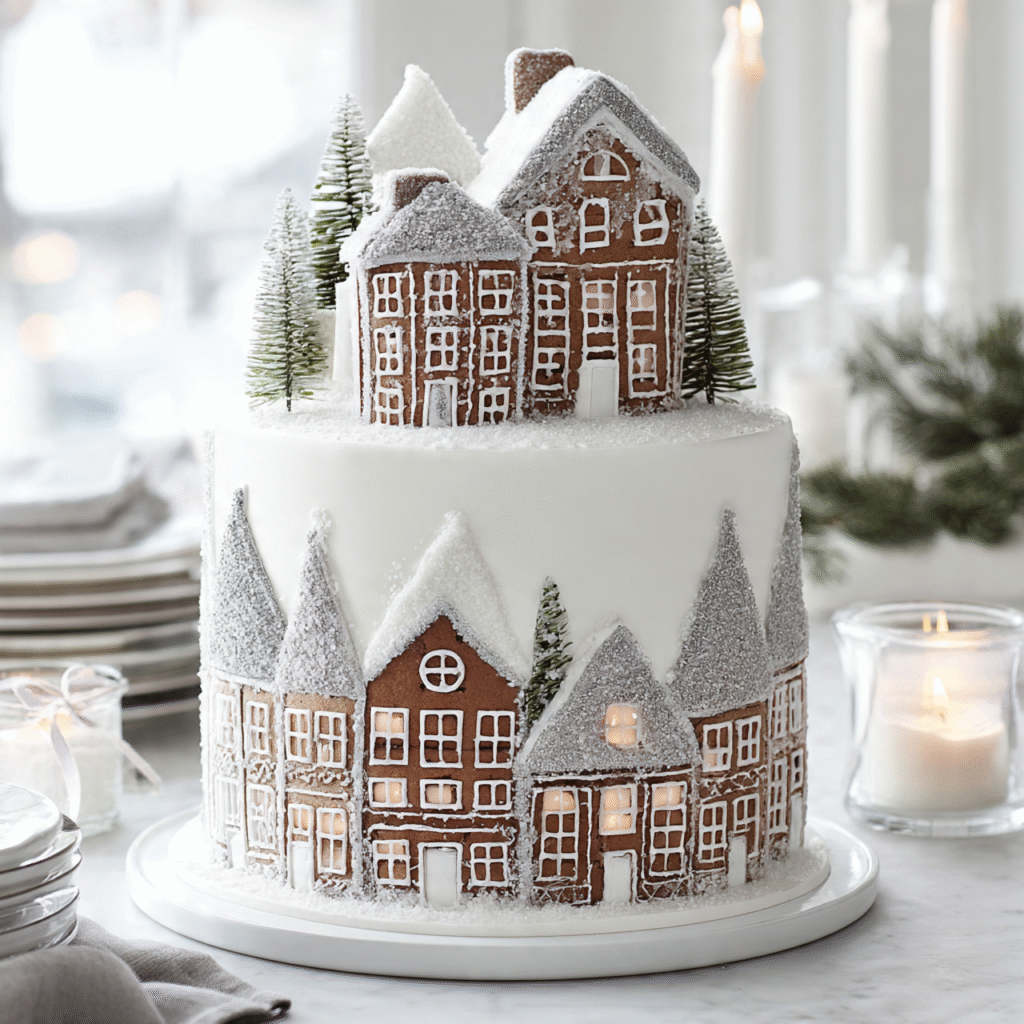
- The Snow Blanket: Apply a thick, generous final layer of white frosting. This is the canvas for your village. Use an offset spatula to create a slightly textured, natural snow drift effect.
Section 4: Decorating the Village – Bringing the Magic to Life
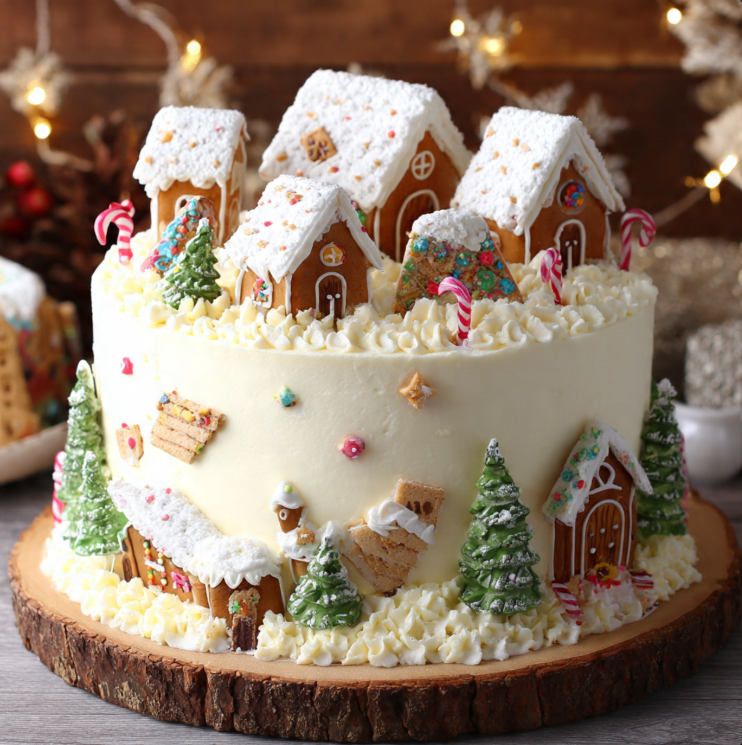
The real fun begins when you place your tiny gingerbread houses, trees, and figures onto your snowy canvas.
4.1 Utilizing Real Gingerbread Pieces
To make this a true Gingerbread Village Cake, you must incorporate actual gingerbread elements:
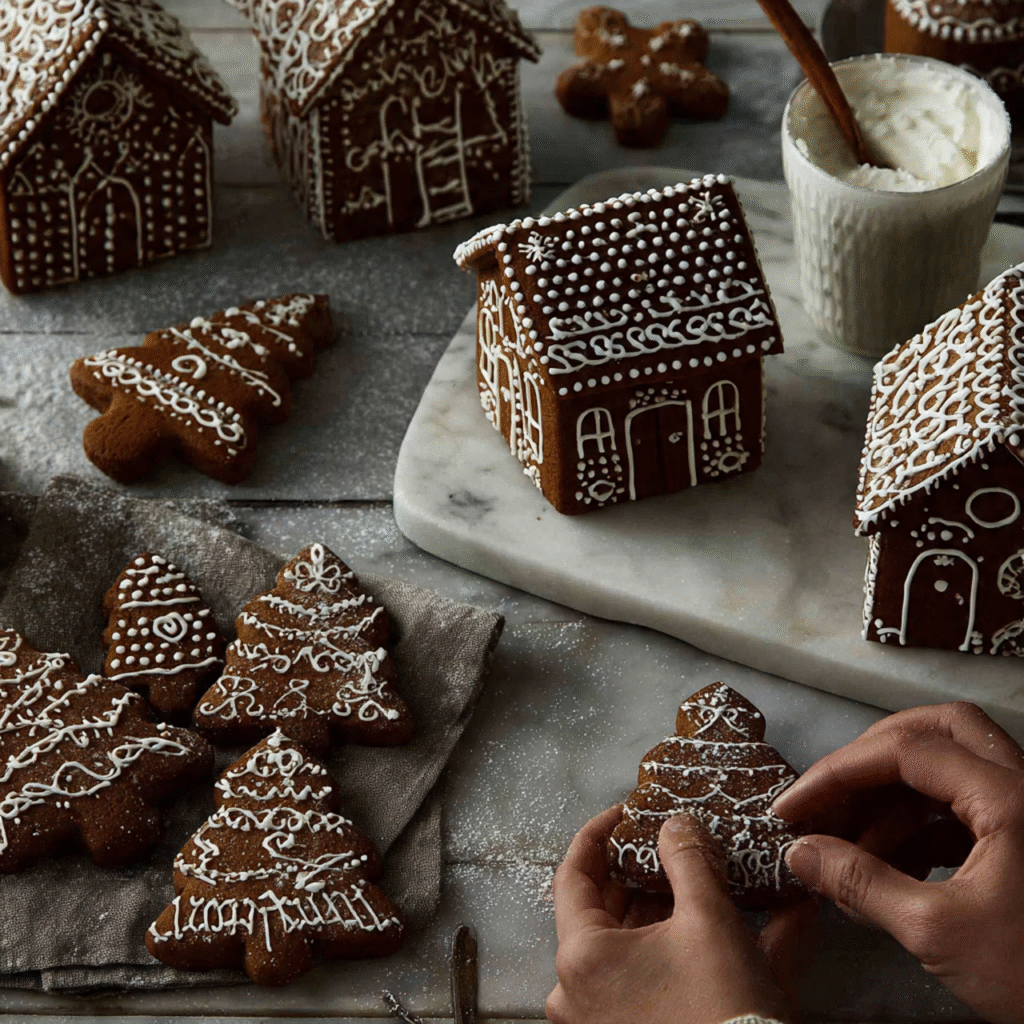
- Mini Houses: Bake small, simple gingerbread houses (or just the facades) ahead of time. These will be placed directly onto the frosted cake terrain. Secure them with heavy dabs of royal icing.
- Gingerbread Trees: Use large star-shaped cookie cutters and stack them by size, using royal icing as mortar, to create simple, elegant pine trees.
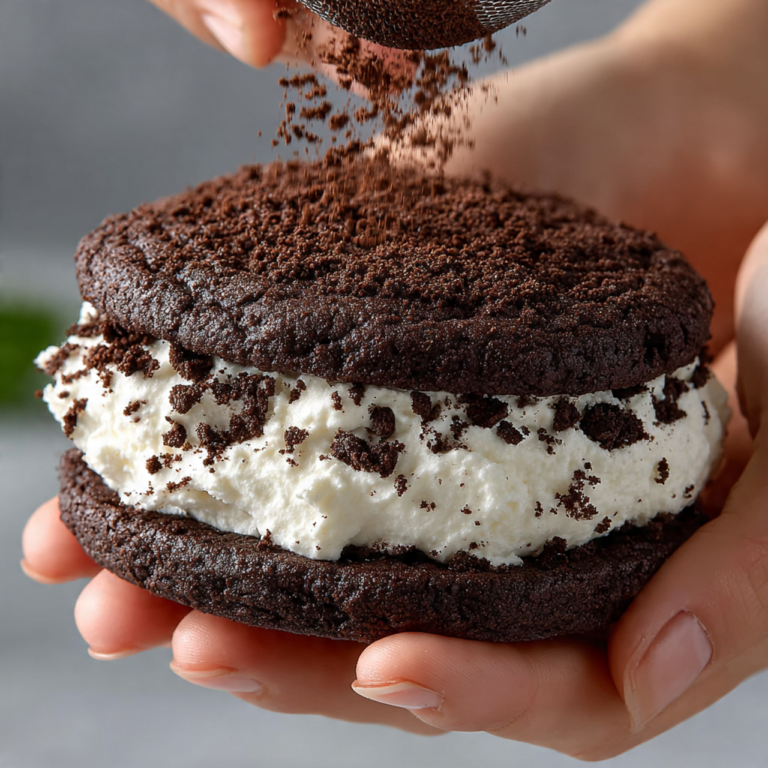
- Pathways: Use crushed dark cookies (like Oreos without the filling) to mimic dirt paths leading up to the houses.
4.2 Finishing Touches with Candies and Detail
Royal icing is your detail brush here. Fill piping bags fitted with small round tips:
- Icing Details: Pipe icicles dripping from the gingerbread roofs, create window panes, and add tiny snow-dusted borders around the cake edge.
- Candy Accents: Use colorful gumdrops for bushes, small peppermint candies for stepping stones, and silver dragées for shimmering frost.
- Shelf Life and Storage: Because this cake relies on structure, store it in a cool, dry environment (not the refrigerator, unless your filling absolutely requires it, as humidity softens the icing structure). A Gingerbread Village Cake typically holds up beautifully at cool room temperature for 3–4 days, allowing you to display it proudly throughout the season.
Conclusion: Bake Your Holiday Tradition
The Gingerbread Village Cake is a significant baking undertaking, but the reward—a stunning, delicious, and entirely homemade holiday centerpiece—is unmatched. Follow these steps for a sturdy cake, rock-solid icing, and masterful decoration, and get ready for applause when you unveil your edible winter wonderland. Happy baking!