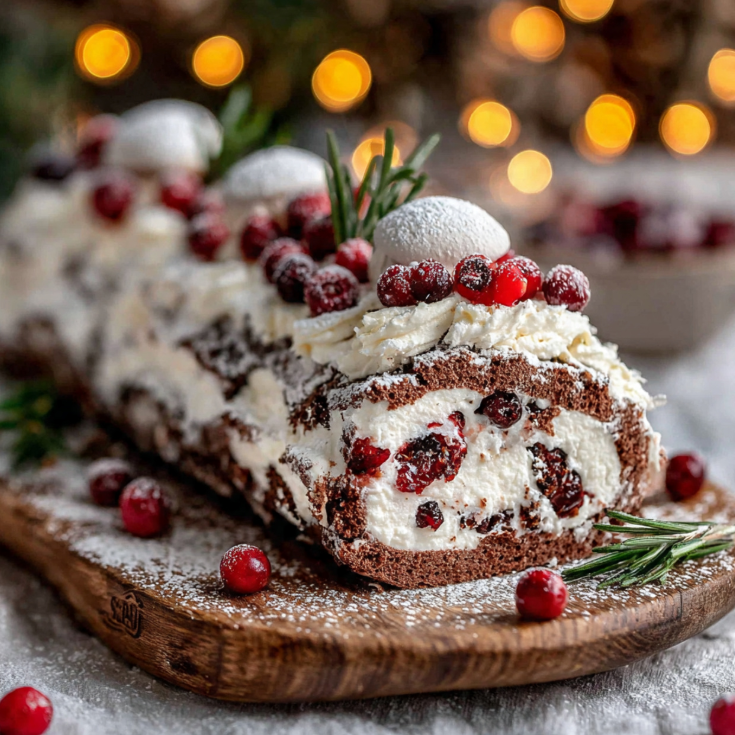
-Yule Log Cake – The Ultimate Festive Centerpiece!

When it comes to Christmas desserts, nothing captures the magic of the holiday season quite like a Yule Log Cake. Known as Bûche de Noël in French, this spectacular rolled cake has been gracing holiday tables for centuries, delighting both young and old with its rustic beauty and irresistible chocolate flavor.
Whether you’re a seasoned baker or trying this recipe for the first time, our comprehensive guide will walk you through every step of creating this ultimate festive centerpiece. From the light-as-air sponge cake to the decadent chocolate buttercream and stunning bark-like decorations, you’ll have everything you need to impress your guests this Christmas.
The Rich History Behind the Yule Log Cake
Before we dive into the recipe, let’s explore the fascinating origins of this beloved Christmas tradition. The Yule Log Cake draws its inspiration from the ancient European custom of burning a specially selected log during the winter solstice celebrations.
Families would bring a large log into their homes on Christmas Eve, decorating it with holly, pine cones, and wine before setting it ablaze. The log was meant to burn throughout the twelve days of Christmas, bringing warmth, light, and good fortune to the household.
As homes became smaller and fireplaces less common in the 19th century, French pastry chefs created an edible tribute to this tradition. The Bûche de Noël was born, transforming the ceremonial log into a delicious chocolate masterpiece that families could enjoy together.
Why You’ll Love This Yule Log Cake Recipe
- Showstopping presentation that looks professionally made
- Rich chocolate flavor in every bite
- Surprisingly easy to make with our detailed instructions
- Perfect make-ahead dessert for busy holiday schedules
- Customizable decorations to match your style
- Feeds a crowd – perfect for holiday gatherings
Ingredients for the Perfect Yule Log Cake
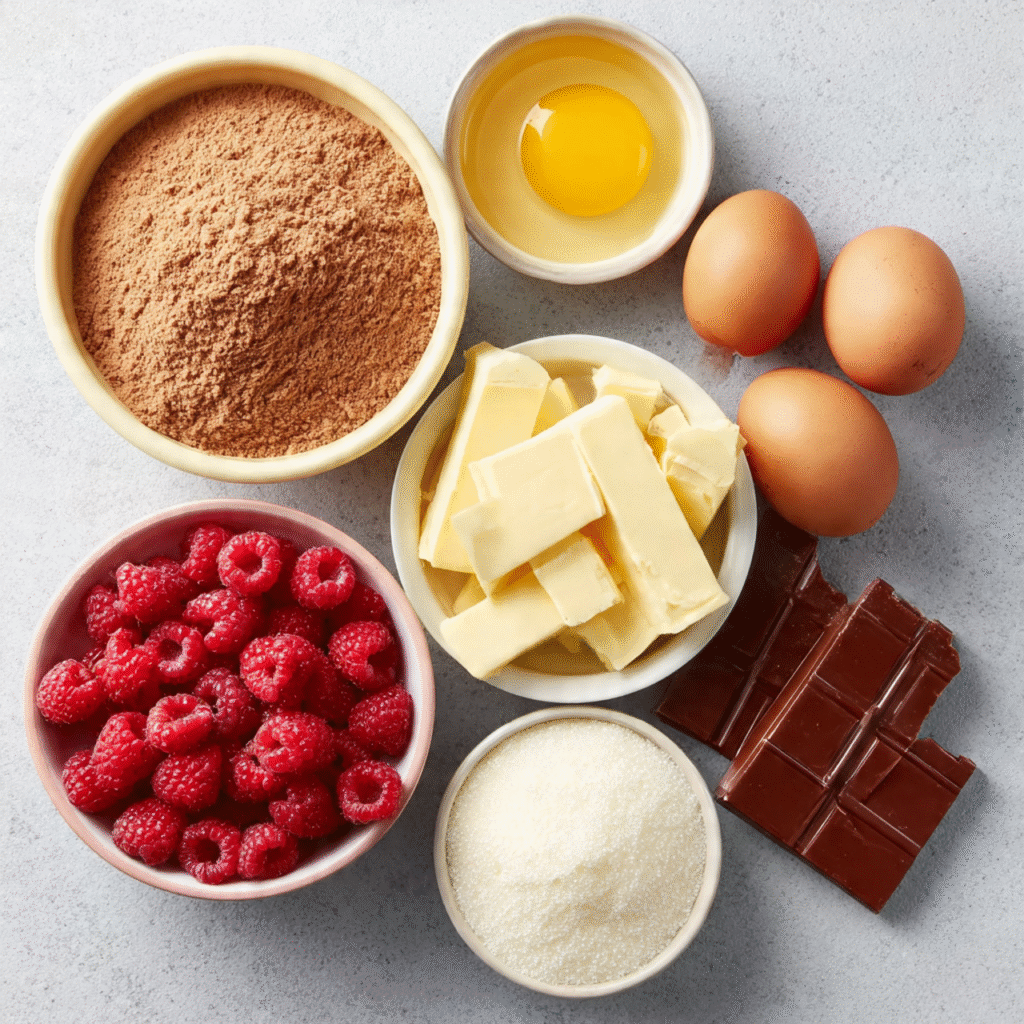
For the Chocolate Sponge Cake:
- 6 large eggs, room temperature
- ¾ cup (150g) granulated sugar
- 1 teaspoon pure vanilla extract
- ½ cup (60g) all-purpose flour
- ⅓ cup (30g) unsweetened cocoa powder
- ¼ teaspoon salt
- 2 tablespoons melted butter, cooled
For the Chocolate Buttercream Filling:
- 1 cup (230g) unsalted butter, softened
- 3 cups (360g) powdered sugar, sifted
- ½ cup (45g) unsweetened cocoa powder
- 3 tablespoons heavy cream
- 1 teaspoon vanilla extract
- Pinch of salt
For the Chocolate Ganache Bark:
- 8 oz (225g) semi-sweet chocolate, chopped
- 1 cup (240ml) heavy cream
- 2 tablespoons unsalted butter
For Decorations:
- Powdered sugar (for snow effect)
- Fresh rosemary sprigs (for pine branches)
- Fresh cranberries
- Meringue mushrooms (optional)
- Marzipan holly leaves and berries
Step-by-Step Instructions
Step 1: Prepare the Chocolate Sponge Cake
- Preheat your oven to 350°F (175°C). Line a 10×15 inch jelly roll pan with parchment paper, leaving overhang on the sides. Lightly grease and dust with cocoa powder.
- Sift together the flour, cocoa powder, and salt in a medium bowl. Set aside.
- Beat the eggs and sugar using an electric mixer on high speed for 8-10 minutes until the mixture triples in volume and forms thick ribbons when lifted.
- Add vanilla extract and gently fold in the dry ingredients in three additions, being careful not to deflate the batter.
- Fold in the melted butter until just combined.
- Spread the batter evenly in the prepared pan and bake for 10-12 minutes until the cake springs back when lightly touched.
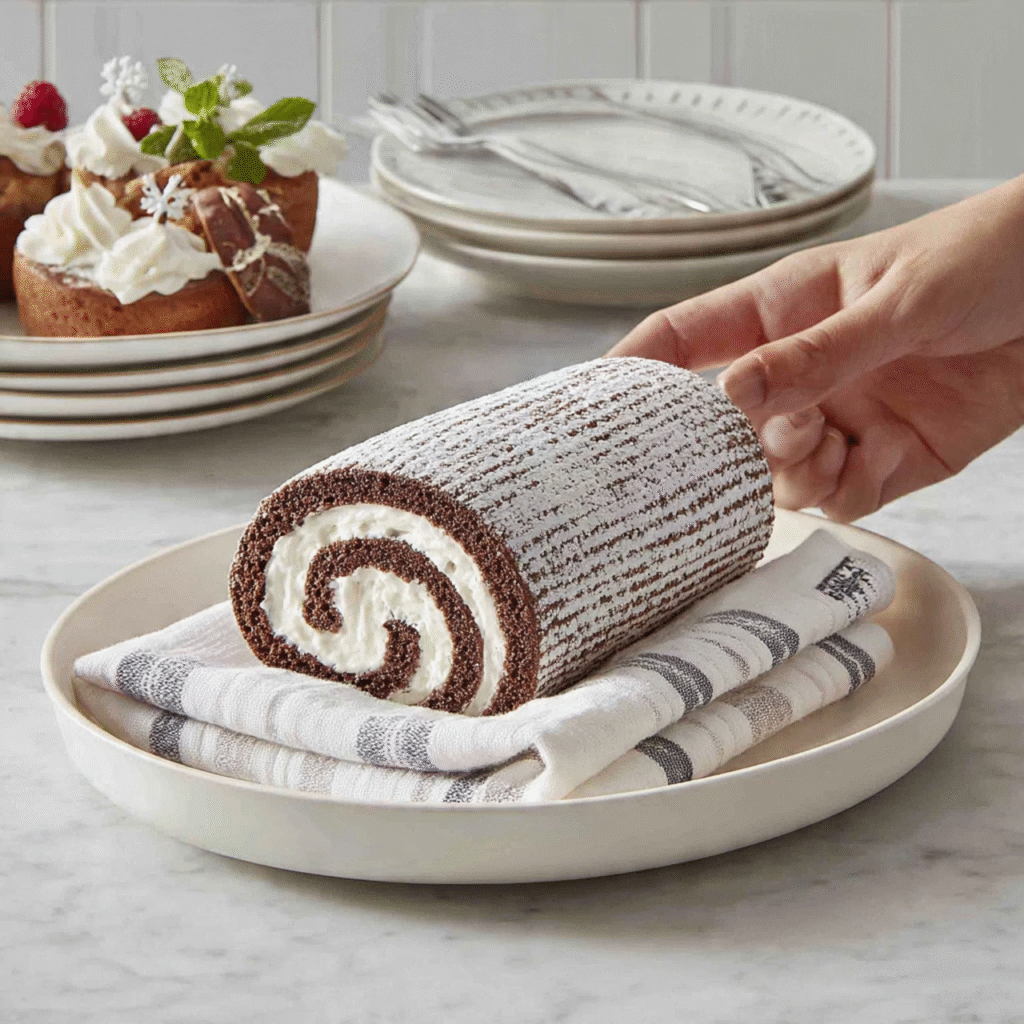
Step 2: Roll the Warm Cake
This crucial step prevents cracking!
- Immediately dust a clean kitchen towel with cocoa powder.
- Invert the warm cake onto the towel and carefully peel off the parchment paper.
- Roll the cake starting from the short end, rolling the towel inside the cake.
- Let it cool completely in the rolled position, about 1 hour.
Step 3: Make the Chocolate Buttercream
- Beat the softened butter until pale and fluffy, about 3-4 minutes.
- Gradually add the powdered sugar and cocoa powder, mixing on low speed.
- Add the cream, vanilla, and salt, then beat on medium-high for 2-3 minutes until smooth and spreadable.
Step 4: Fill and Roll the Cake
- Carefully unroll the cooled cake and remove the towel.
- Spread about 1 cup of buttercream evenly over the cake, leaving a ½-inch border.
- Re-roll the cake tightly without the towel this time.
- Place seam-side down on your serving platter.
Step 5: Prepare the Chocolate Ganache
- Heat the cream until it just begins to simmer.
- Pour over the chopped chocolate and let sit for 2 minutes.
- Stir until smooth, then add butter and mix until glossy.
- Let cool until spreadable consistency, about 30 minutes.
Step 6: Create the Bark Effect
- Cut a small diagonal piece from each end of the log for the “branch” stumps.
- Attach the cut pieces to the sides of the log using ganache.
- Cover the entire log with ganache, then use a fork to create bark-like texture, dragging it lengthwise along the log.
- Create ring patterns on the cut ends using a toothpick.
Expert Tips for Success
Preventing Cracks
- Roll the cake while still warm
- Don’t overbake the sponge
- Use cocoa powder instead of flour on the towel
Achieving the Perfect Texture
- Ensure eggs are at room temperature
- Beat the egg mixture until it triples in volume
- Fold dry ingredients gently to maintain airiness
Making It Ahead
- The unfrosted rolled cake can be wrapped and refrigerated for 24 hours
- The finished log keeps for 3-4 days refrigerated
- Bring to room temperature 30 minutes before serving
Creative Variations to Try
White Chocolate Yule Log
Replace the chocolate sponge with vanilla and use white chocolate ganache for an elegant, snow-covered look.
Coffee Yule Log
Add 2 tablespoons of espresso powder to the buttercream for a sophisticated mocha flavor.
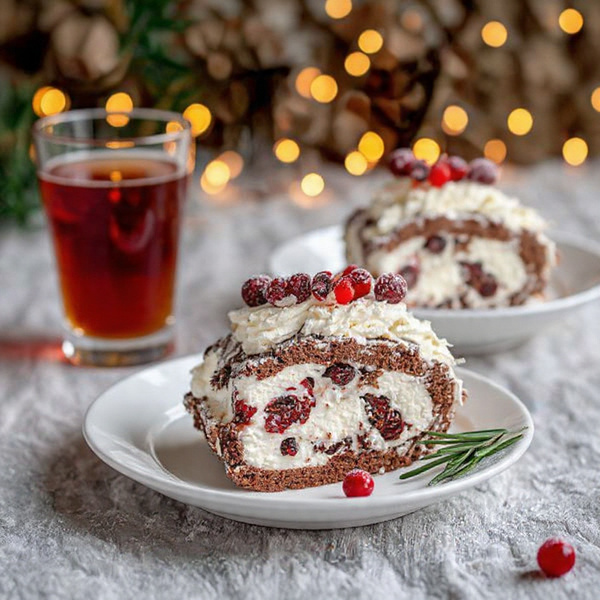
Black Forest Yule Log
Fill with whipped cream and cherry preserves, then top with chocolate shavings and fresh cherries.
Vegan Yule Log
Use aquafaba instead of eggs and plant-based butter for a delicious dairy-free version.
Beautiful Decoration Ideas
Transform your Yule Log into a winter wonderland with these decoration suggestions:
- Dust with powdered sugar for a fresh snow effect
- Add meringue mushrooms for a woodland touch
- Place rosemary sprigs to resemble pine branches
- Scatter sugared cranberries for pops of color
- Create marzipan holly leaves with red berry details
- Add edible gold leaf for an elegant finish
Storage and Serving Suggestions
Storage:
- Refrigerator: Store covered for up to 4 days
- Freezer: Wrap tightly and freeze for up to 1 month
Serving:
- Remove from refrigerator 30 minutes before serving
- Slice with a sharp knife dipped in hot water
- Serve with whipped cream or vanilla ice cream
- Pairs beautifully with coffee or mulled wine
Frequently Asked Questions
Why did my Yule Log cake crack?
Cracks typically occur when the cake is overbaked or cooled before rolling. Always roll while warm and ensure you don’t bake longer than 12 minutes.
Can I make the Yule Log ahead of time?
Absolutely! This makes an excellent make-ahead dessert. The completed log can be refrigerated for up to 4 days, making it perfect for busy holiday schedules.
How many servings does this recipe yield?
This Yule Log Cake serves approximately 10-12 people, making it ideal for holiday gatherings.
Can I use different flavors?
Yes! While chocolate is traditional, you can create vanilla, coffee, or even fruit-flavored variations to suit your preferences.
What if I don’t have a jelly roll pan?
You can use a regular baking sheet with raised edges, just ensure it’s approximately 10×15 inches.
Conclusion
Creating a stunning Yule Log Cake may seem intimidating, but with our detailed recipe and helpful tips, you’ll be able to craft this magnificent Christmas dessert with confidence. The combination of light chocolate sponge, rich buttercream, and elegant decorations makes this the perfect festive centerpiece for your holiday celebration.
This classic Bûche de Noël not only tastes incredible but also creates lasting memories as you share it with loved ones around the table. So gather your ingredients, preheat your oven, and get ready to create a dessert that will have everyone asking for seconds!